
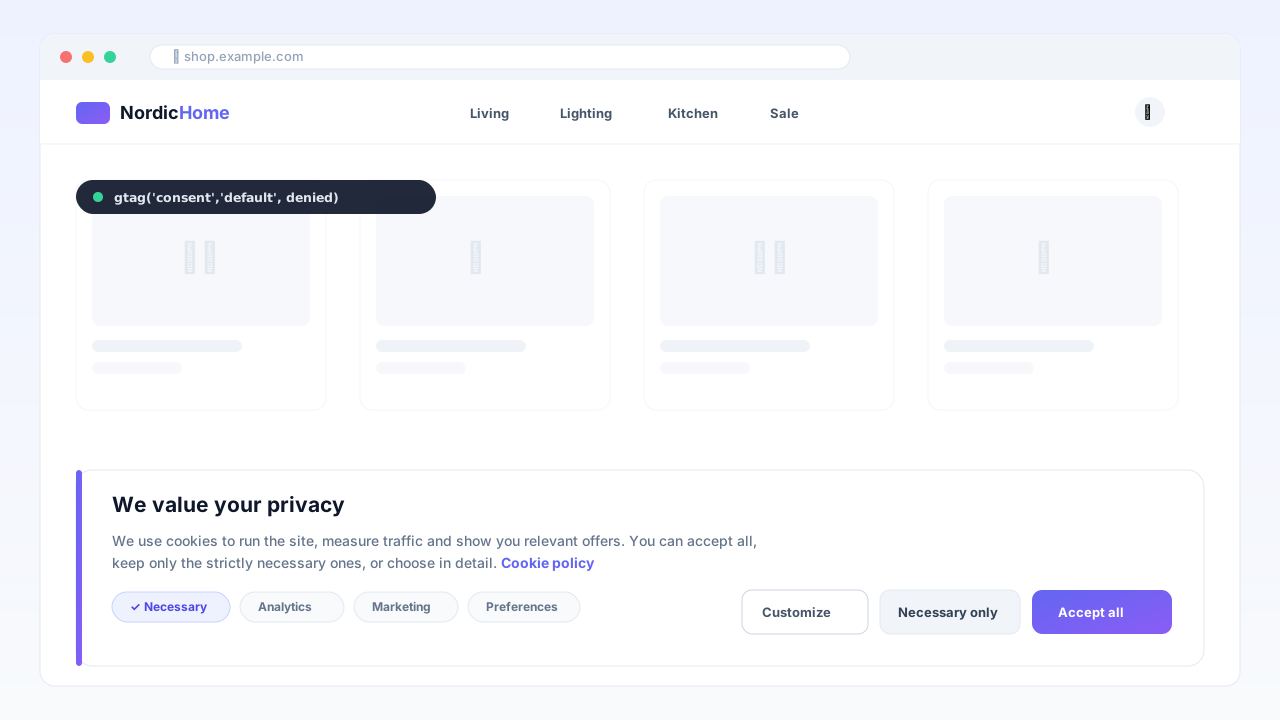
Your cookie consent, owned — not rented
Consent Manager brings a complete Consent Management Platform to OpenMage and Magento 1.9 — with native Google Consent Mode v2 support in advanced mode. No monthly CMP subscription, no third-party JavaScript calling home: everything runs on your store.
Google Consent Mode v2, done right
Default signals (ad_storage, ad_user_data, ad_personalization, analytics_storage) are pushed as denied into the dataLayer before any Google tag loads. When the visitor chooses, the module fires gtag('consent','update',…) — so Google Ads and GA4 keep modelling conversions even on refusal, exactly as Google requires since March 2024.
Everything a GDPR audit asks for
Consent registry (GDPR art. 7 proof): every choice is logged with timestamp, policy version and anonymizable IP — with configurable retention and automatic purge.
Right to erasure (art. 17): registry entries are deleted together with the customer account.
Granular categories: necessary / analytics / marketing / preferences, each with editable labels and descriptions.
Built for real stores
Cache-safe by design: consent state lives 100% client-side — works with FPC, LiteSpeed Cache and Varnish without holes.
AMP support: native
<amp-consent>with granular purposes on your AMP pages.Fully themeable: bar or box layout, blocking or non-blocking, your colors, your radius, custom CSS — with live preview in admin.
Every text editable per store view — ship it in any language.
Technical requirements
OpenMage LTS 19.x/20.x or Magento CE 1.9.x · PHP 7.2+ · ionCube Loader (free) on the server. The banner keeps protecting your store regardless of license state — the license unlocks updates and support.
Platform
OpenMage
Latest version
—
PHP
—
Updated
—
1. Requirements
OpenMage LTS 19.x/20.x or Magento CE 1.9.x
PHP 7.2+ with the ionCube Loader enabled (most hosts have it; check with a
phpinfo()page or ask your host)Your Google tags (gtag.js or GTM) already loaded by your theme
2. Install the files
Download the package from your Imavio account (Downloads) after purchase.
Unzip it and upload the contents over your Magento root — it merges into
app/code/local/Imavio/ConsentV2,app/etc/modules/Imavio_ConsentV2.xmlandapp/design/…. No core files are overwritten.Flush the cache: System → Cache Management → Flush Magento Cache. The setup script creates the
imavio_consent_logtable automatically.
3. Activate your license
Go to System → Configuration → Imavio Extensions → CMP v2 Manager → License.
Paste the license key from your Imavio account and save.
The banner works immediately; the license unlocks updates (validated in the background).
4. Configure the banner
General: enable it (desktop/AMP), set your cookie-policy page URL, retention days and
wait_for_update.Content: edit the banner and modal texts and button labels per store view (English defaults are provided).
Categories: keep or rename necessary / analytics / marketing / preferences and edit their descriptions.
Design: choose bar or box, blocking or not, your colors and radius — a live preview is shown in admin.
5. Verify
Open your storefront in a private window — the banner appears and, until you choose, Google tags run in cookieless (denied) mode.
Accept or reject; check Imavio Extensions → CMP v2 Manager → Consent Log for the recorded entry.
Use Google Tag Assistant to confirm the
consent updateevent fires with your choice.
Updates & support
New versions appear under Downloads in your account while your update window is active. Need help? Open a ticket from your Imavio account — support is included with your license.
Customer reviews
No reviews yet — be the first to share your experience.
Log in to write a review.
You might also like
 OpenMage
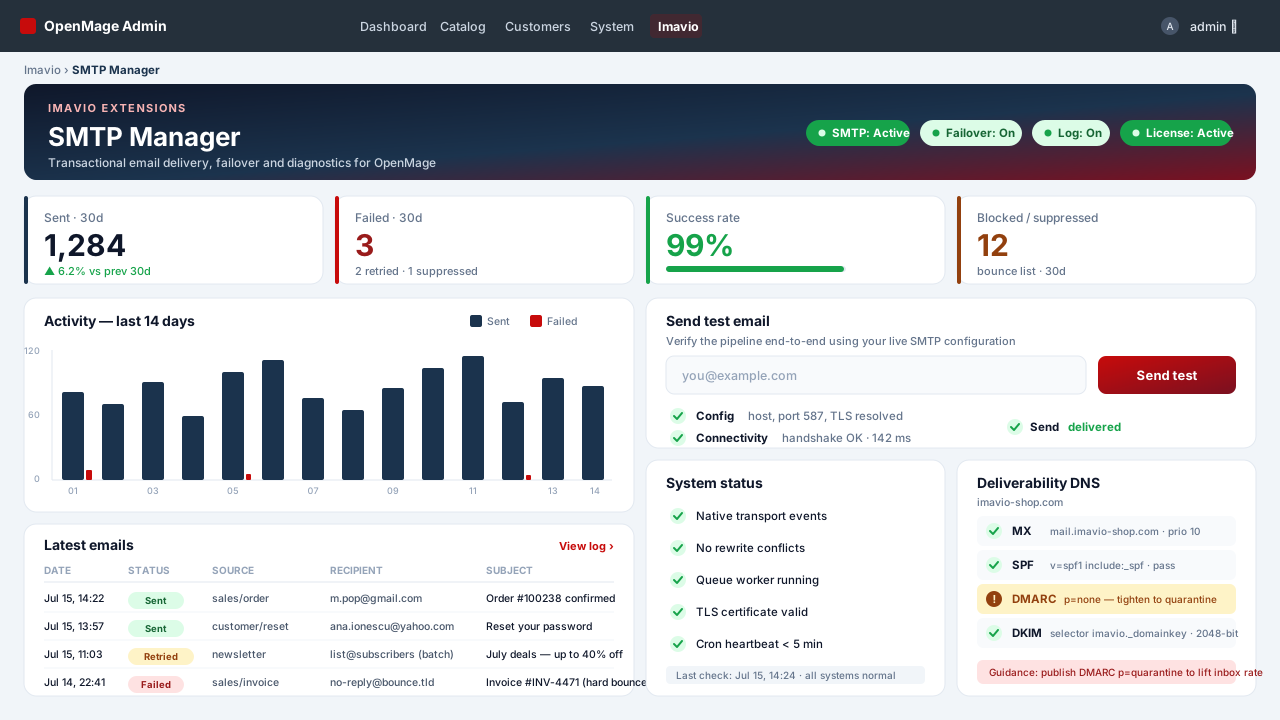
SMTP Manager — Authenticated Email & Log
Authenticated SMTP for every OpenMage email — transactional, order queue, checkout and newsletters — with a full send log, automatic failover and a deliverability doctor, all without rewriting a single core class.
 OpenMage
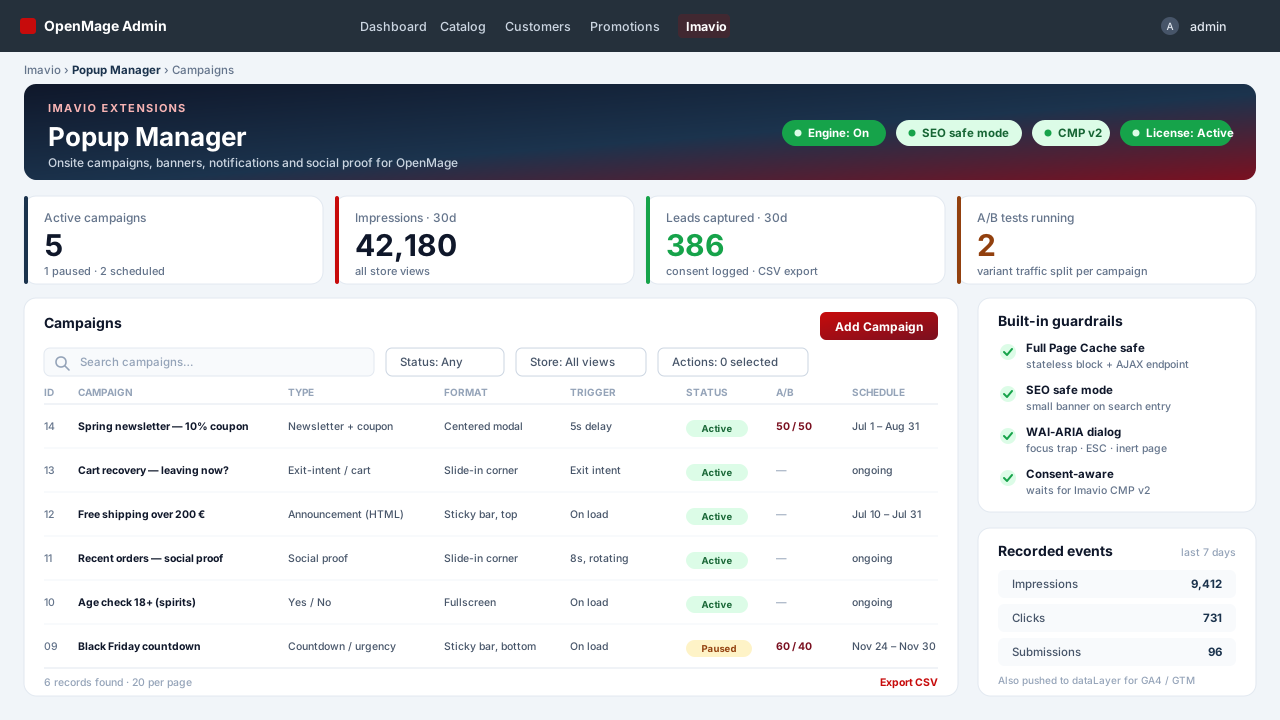
Popup Manager — Onsite Campaigns & Social Proof
Popups, sticky bars, slide-ins and social-proof notifications for OpenMage — cache-safe by construction, accessible by default, consent-aware, with condition-tree targeting and A/B testing.
 OpenMage
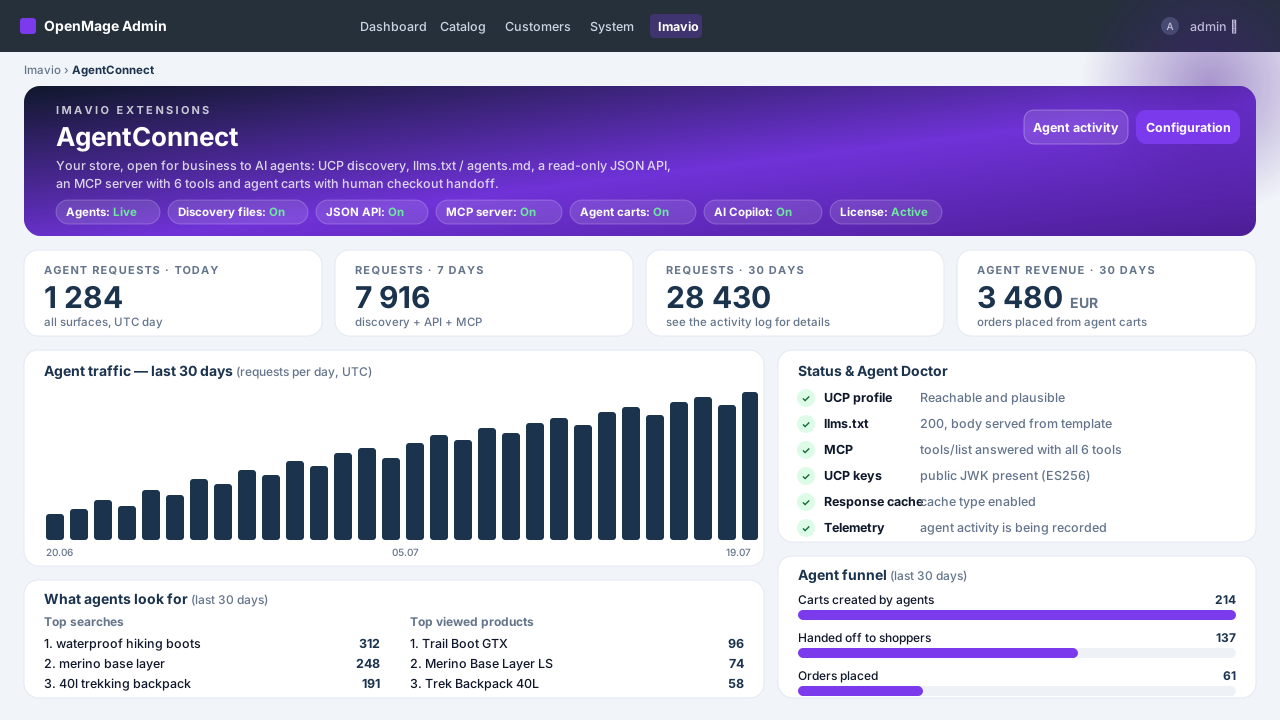
AgentConnect — AI Agents & Agentic Commerce
Make your OpenMage store discoverable and shoppable for AI agents — UCP discovery, llms.txt, a clean read-only JSON API, an MCP server for Claude and ChatGPT, agent carts with human checkout and full revenue attribution — plus an admin AI copilot powered by your own key.